Quick start
Workload item
To access the workload you must first create a Price Planner item.
- Log in to Microsoft Fabric and navigate to Workloads.
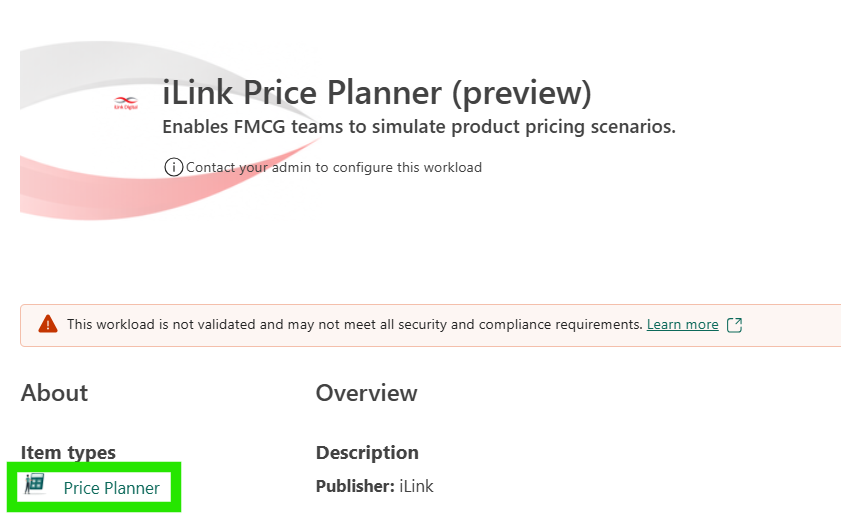
- Go to Price Planner by iLink and select the item type Price Planner.
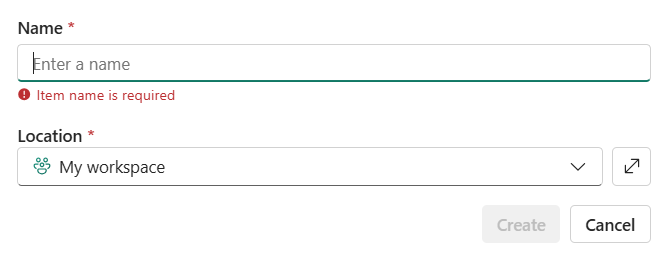
- Enter a name for the Price Planner item, select the workspace where you want to create it, and select Create.
Project setup
- Add a new Project by selecting Project setup.
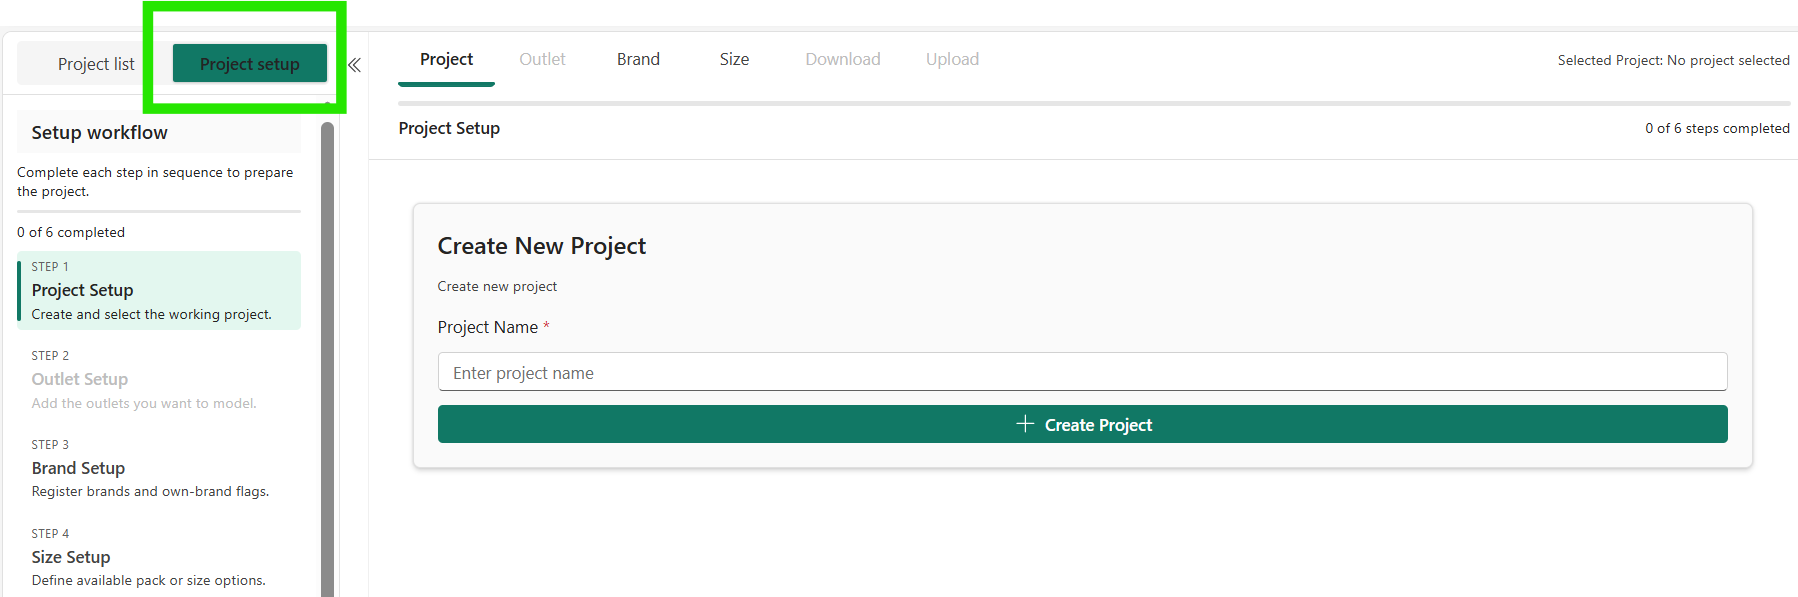
- Add the Project name, Outlet, Brand (own versus competitor) and Size details.
- Download the template.
- Fill in the details in the template.
- Upload the template.
Scenarios – Data
- Go to the Project list tab in the left navigation pane.
- Every successfully created project gets a default Zero Change scenario. It serves as the baseline for all other scenarios you create.
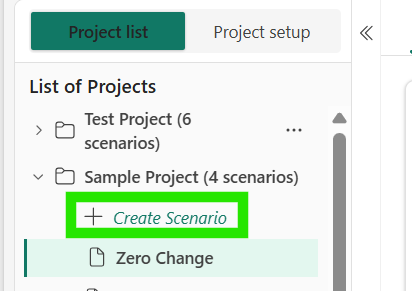
- Create a new scenario by selecting Create Scenario under a project.
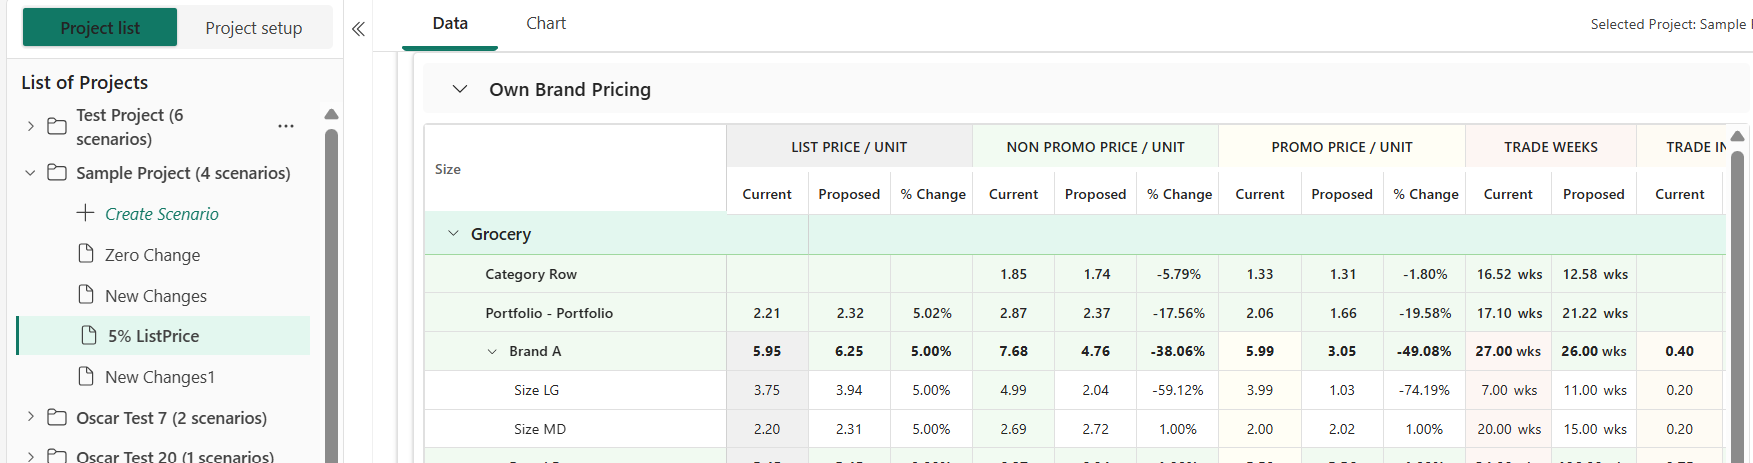
- Update the Proposed or % Change values in the Own Brand Pricing and Competitor Pricing tables.
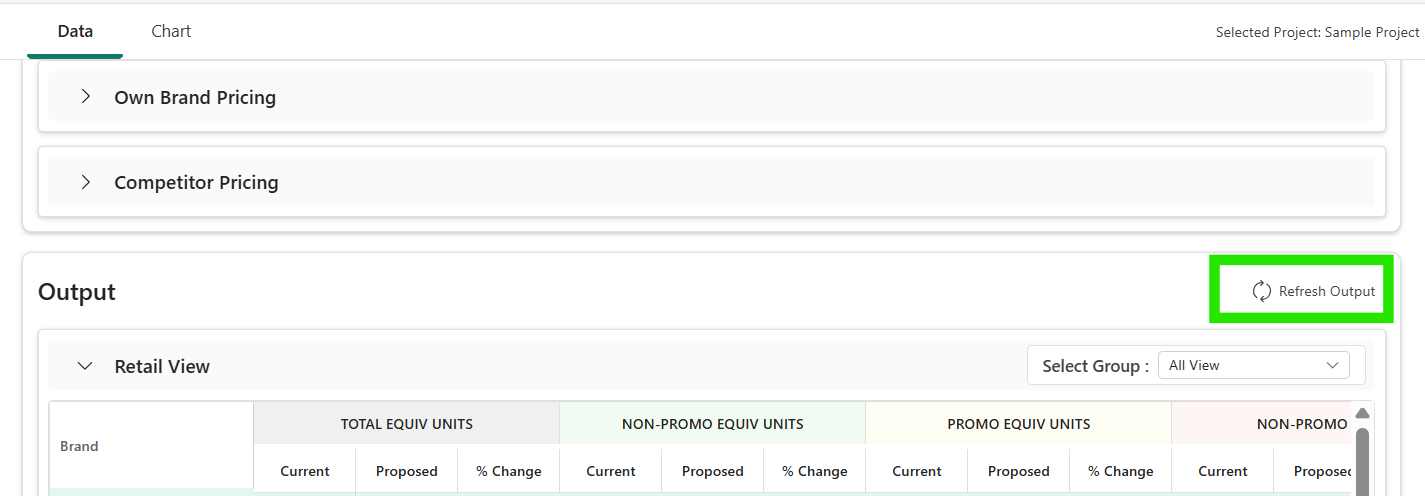
- Select Refresh Output to run the scenario.
Scenarios – Compare scenarios
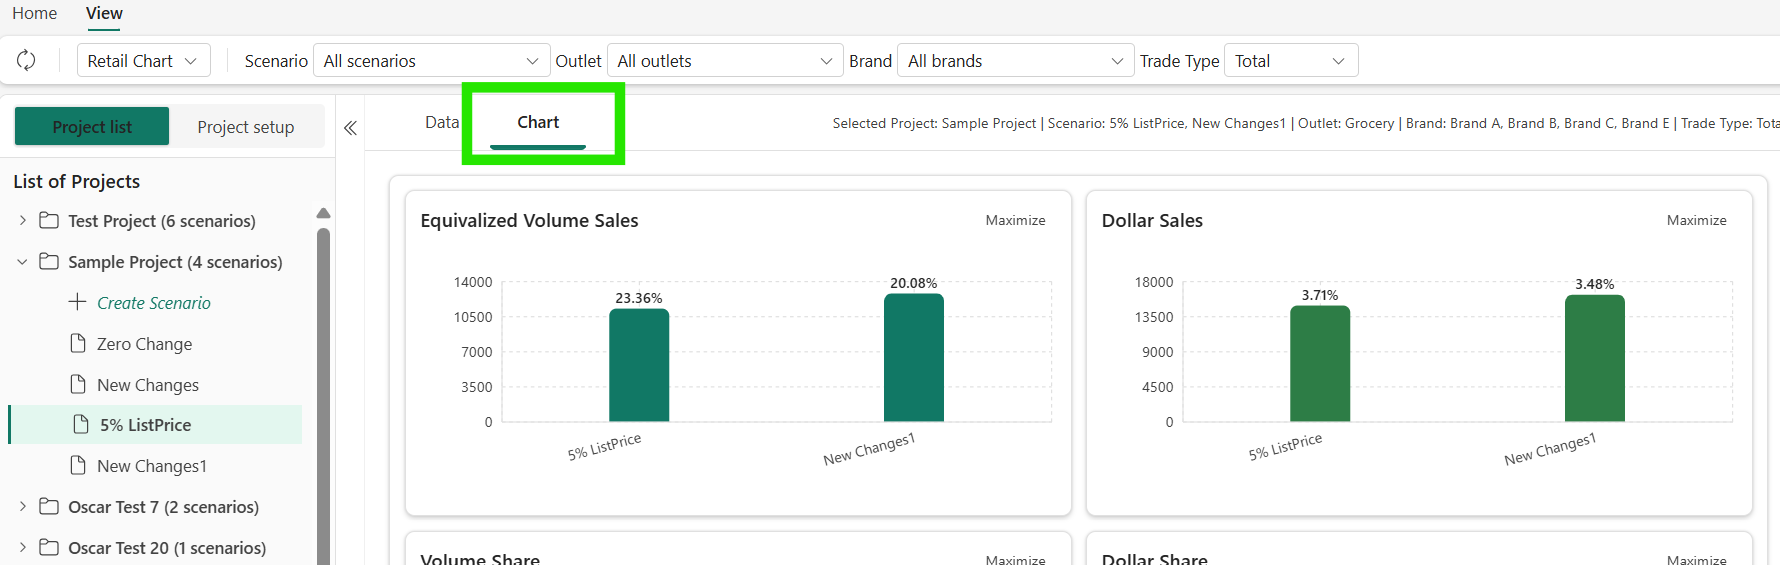
Select the Chart tab to compare scenarios.